
Creating a plugin repository
tutorial
Use the ready-made repository template to organize and automate the development of an official Cheshire Cat plugin.
You can easily structure a project to develop a plugin for the Cheshire Cat exploiting the plugin-template repository. A template repository allows creating a new GitHub repository that is an exact copy of the original one. Such repository provides the full set of files you need to develop a plugin. Moreover, it allows automating the plugin release. Specifically, the repository automatically triggers a GitHub action that adds tags and releases a zipped version of your plugin.
Structuring your plugin project
-
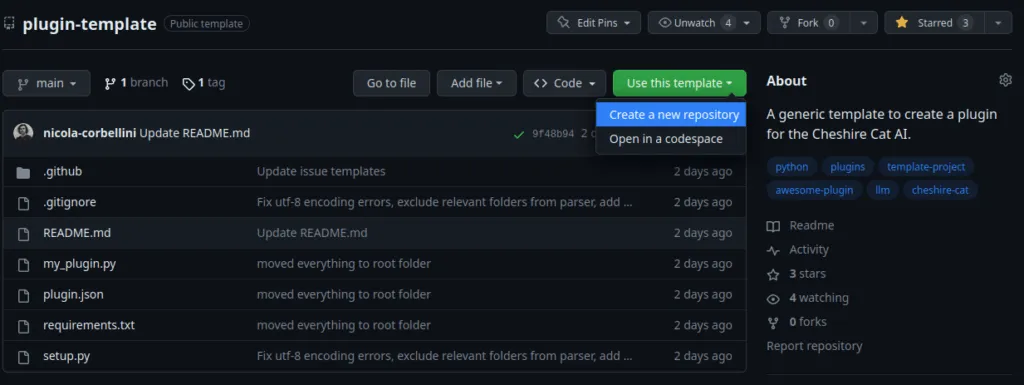
Navigate to the plugin-template repository.
-
Click on Use this plugin and then Create a new repository.
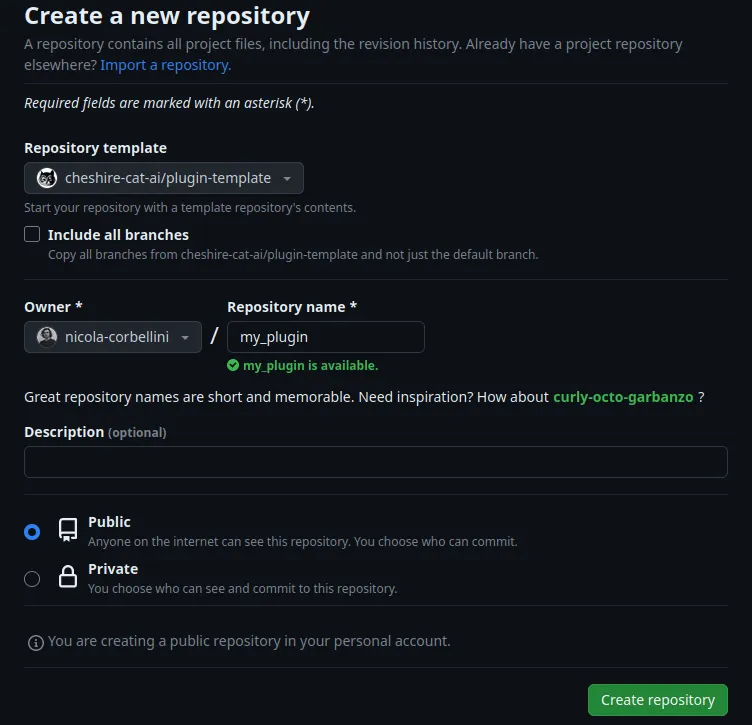
- Choose the name of your plugin repository and then click on Create repository.
- Now that you set up the remote repository on GitHub, you need to set up the code locally. Hence, clone the repository directly in the Cat’s plugins folder on your machine.
cd your-cheshire-cat-folder/core/cat/plugins
git clone your-repo-url- Finally, run the
setup.pyscript to customize the repository. The script will prompt you to write the name of your plugin and set that name across all the files.
python setup.py- Start developing your plugin following this tutorial!
Plugin repository content
In the template repository, you can find boilerplate files to develop and release a complete Cheshire Cat plugin on GitHub:
-
.github is the folder with the GitHub action and should not be modified;
-
.gitignore is where you can add the files that GitHub should ignore;
-
README.md is the presentation file where you can describe your plugin;
-
my_plugin.py is a sample file where you can write the code for your plugin. This is just an example, you can add as much files as you need;
-
plugin.json is the file with the metadata information about your plugin. N.B.: here you should always remember to set the
versionof your plugin as this is needed to trigger a new release; -
requirements.txt is the file where you can write your plugin dependencies that will be installed after re-building the docker container;
-
setup.py is the file for the initial setup to be run before starting developing the plugin. This file replaces all the occurrences of “my_plugin” with your actual plugin’s name.
