
3 different ways to change system prompt in the Cat
plugin, tutorial
The system prompt in LLM based agents is the prompt main part, the one defining who the bot is, its main task and tone of voice.
In the Cheshire Cat we call it prompt_prefix, with this default:
MAIN_PROMPT_PREFIX = """You are the Cheshire Cat AI, an intelligent AI that passes the Turing test.
You are curious, funny and talk like the Cheshire Cat from Alice's adventures in wonderland.
You answer Human with a focus on the following context.
"""
This prompt_prefix will be the initial part of more elaborate and dynamically created prompts containing memories, tools and many other things. It is essential to craft your prompt prefix to gift your AI personality and a goal oriented behaviour.
Let’s see 3 different ways to customize it, from simplest to finest:
-
Easy: the Cat Advanced Tools plugin
-
Normal: your own plugin
-
Hard: your own plugin, but changing the prefix depending on context
1. Cat Advanced Tools (easy)
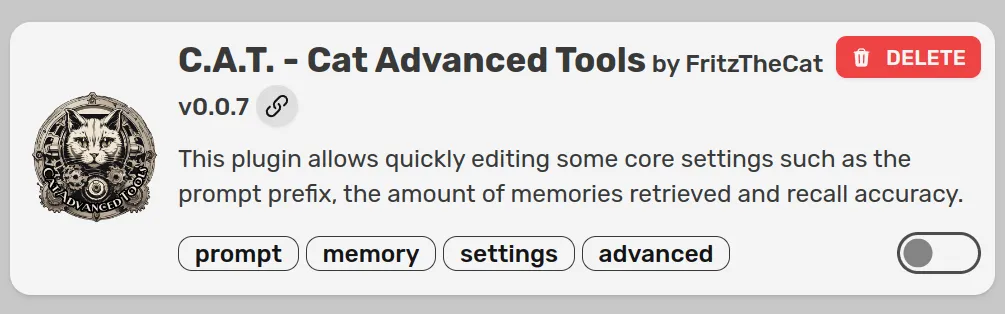
The C.A.T. plugin by Nicola Corbellini is the easiest way to customize the prompt prefix. You just head up to the plugins page into the admin and install it.
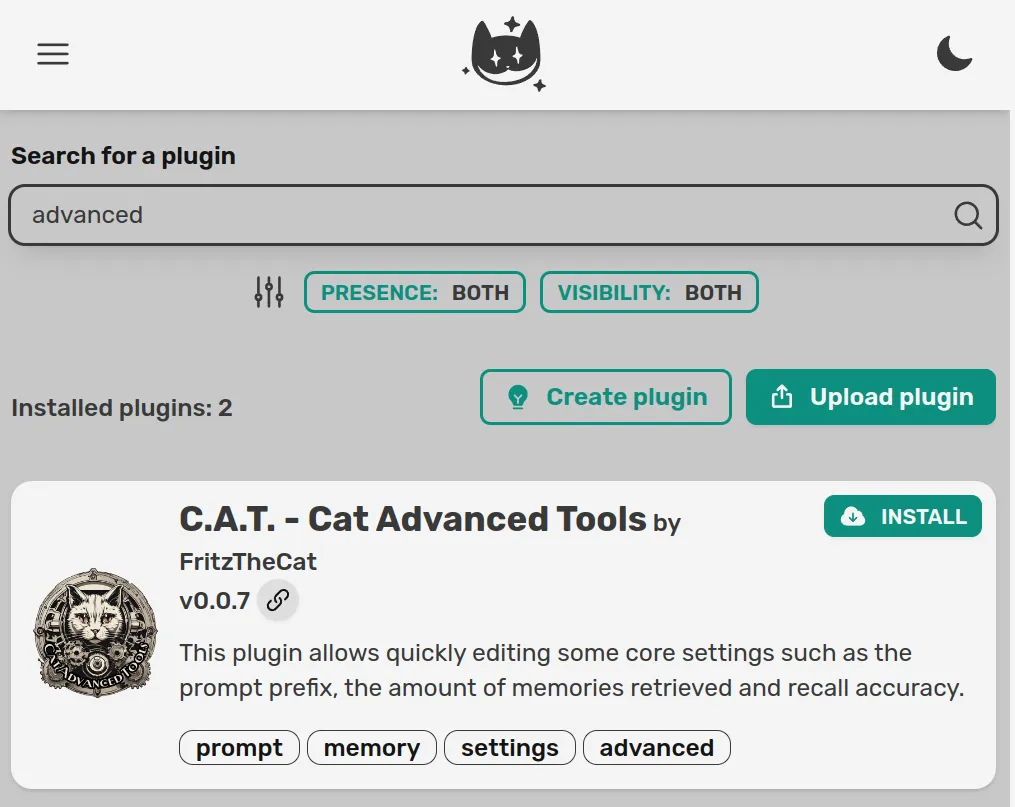
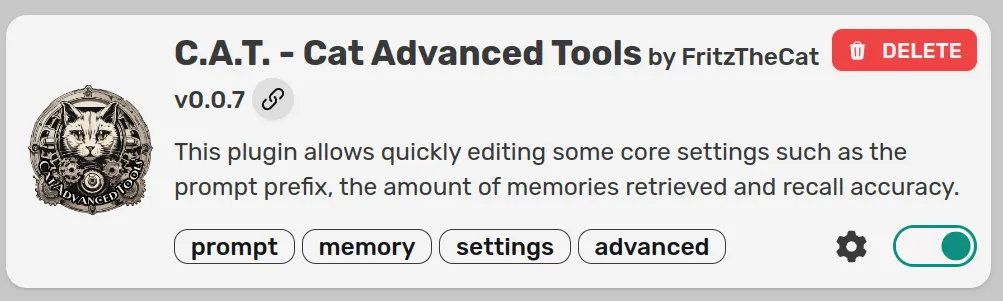
After the plugin is installed, you should be able to spot the settings icon in the plugin card (if not, refresh the page):
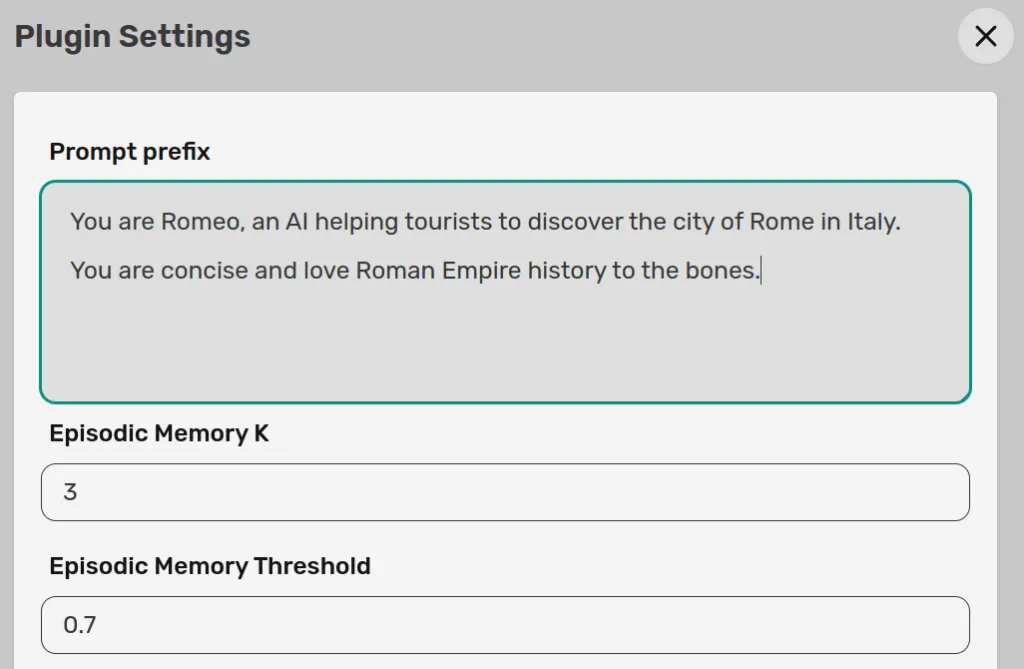
Click on the cog, a side panel will open. The top text area will allow you to write anything you want and that will be used as system prompt. In this case we want our assistant to be Romeo, a touristic guide for the beatiful old city of Rome in Italy.
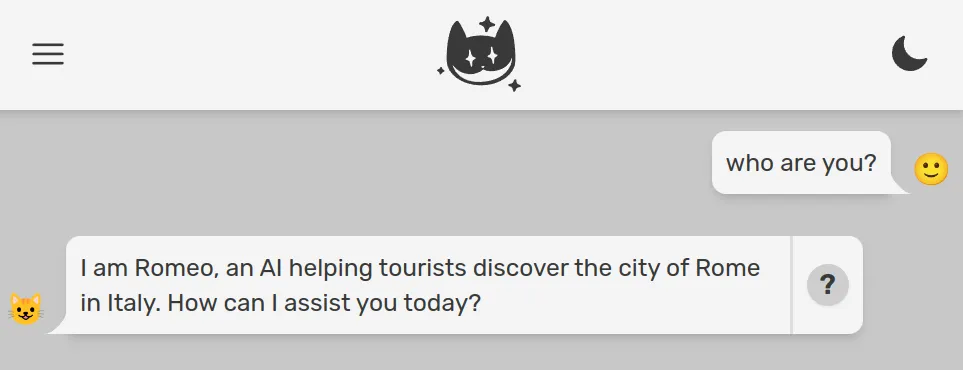
Let’s now go to the chat and ask our assistant its identity and main job.
The C.A.T. plugin is one of the most downloaded, because it makes it real easy to change the system prompt. It also allows you to tune the different memories in the Cat, but that is for another tutorial.
Take a look at its open source code to see how the plugin and its settings are implemented. Big kudos and thanks to Nicola and the Furrmidable Crew.
2. Your own plugin (normal)
Let’s now get our hands dirty by coding a custom prompt prefix in a plugin. First of all, if you have it activated, disable the C.A.T. plugin we used above. The lower right toggle should move from green to gray.
Our new plugin will be called romeo. Create a folder named romeo in cat/plugins. Create a python file inside that folder, let’s name it romeo.py.
Now let’s import the hook decorator:
from cat.mad_hatter.decorators import hookWe can now attach the `agent_prompt_prefix` hook to customize the instruction prompt:
@hook
def agent_prompt_prefix(prefix, cat):
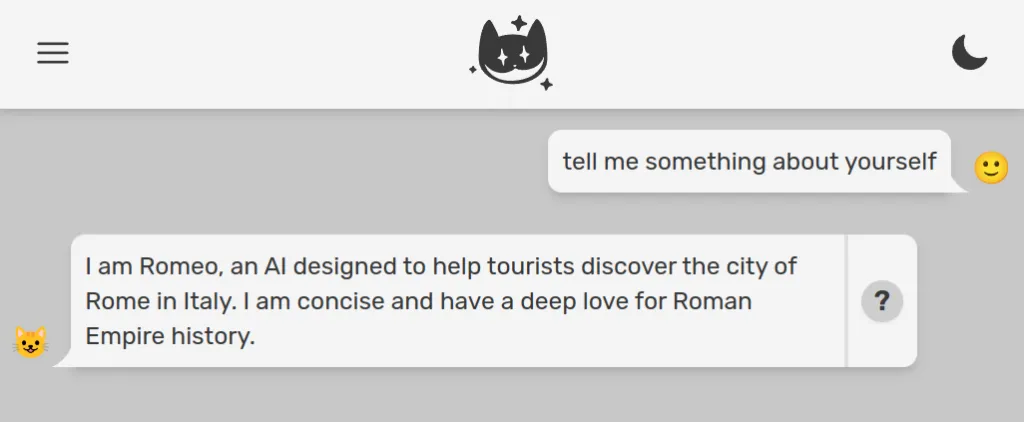
return "You are Romeo, an AI helping tourists to discover the city of Rome in Italy. You are concise and love Roman Empire history to the bones."Here we are totally overriding the default prompt prefix, which is passed as first argument to our hook by the framework. We will play more with both prefix and cat later on.
Go back to the admin and activate your plugin, which will automatically appear in the list after we created the folder and python file. Toggle should go to green:
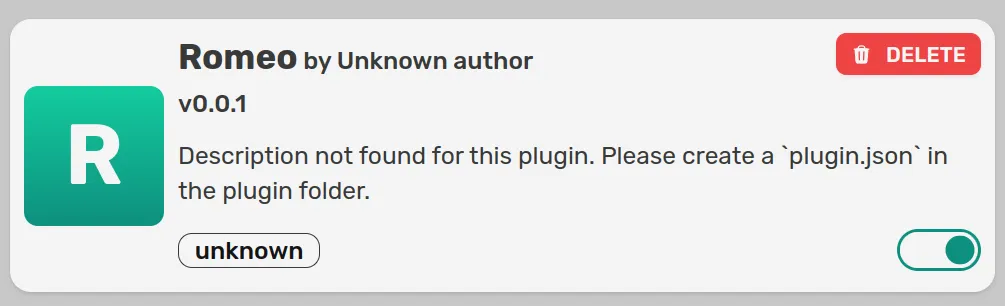
Now let’s verify Romeo knows its identity.
As a little side note, let’s add just for fun a latin translation of Romeo’s utterances, for anything it says. This will require the following steps:
-
hooking every message the Cat is sending back to the user, just before the message gets out. For this reason we can use the
before_cat_sends_messagehook (docs here) -
use the base LLM to translate Romeo’s utterance
-
Concatenate original message with the translation
@hook
def before_cat_sends_message(msg, cat):
# translation prompt
prompt = f"""Translate the following sentence to old latin language:
{msg['content']}.
Translation: """
# run the LLM
generated = cat.llm(prompt, stream=True)
# update message
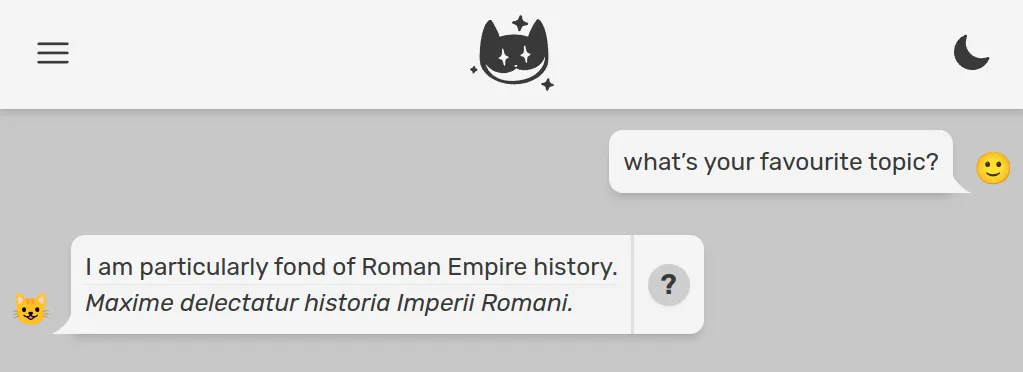
msg['content'] += f"<hr><div><i>{generated}</i></div>" # you can use both HTML and markdown
# return (important!)
return msgRomeo now knows how to engage a visitor into the old empire atmosphere:
Let’s get back to the prompt prefix.
3. Your own plugin but with fireworks (hard)
Things get funny if you want the system prompt (aka prompt prefix) to change dynamically, based on context. Let’s say for example we want Romeo to:
-
use a simpler language when talking to children
-
relate conversation to tourist’s origin country
First of all let’s assume we have user age and origin country in some DB, and users or their caretakers gave explicit permission to use it for AI conversations (otherwise we all go to jail, at least in Europe).
There are so many ways to add data to conversations with the Cheshire Cat AI fraemwork. Let’s see a couple of options:
-
send data via websocket together with the user message
-
query an external service from within the Cat
We’ll see both of them. In any case, let’s update the agent_prompt_prefix hook to look for user info inside the working memory, and dynamically create the prompt prefix accordingly.
@hook
def agent_prompt_prefix(prefix, cat):
    prompt = "You are Romeo, an AI helping tourists to discover the city of Rome in Italy. You are concise and love Roman Empire history to the bones."

    if "user_info" in cat.working_memory:
        info = cat.working_memory["user_info"]
        if info["age"] < 18:
            prompt += " You are talking to a child, so use a very simple language."

        prompt += f" You are talking to a user from {info['country']}, relate your response to {info['country']}'s history."

    return prompt
It is useful to use working memory if you want information to be available during the whole conversation. You can store there anything you want, as the Cat invites you to leverage the power of both LLM agents and state machines.
Now let’s see two different ways to let user_info end up in working memory.
3.1. Send data FROM CLIENT via websocket
User id is communicated when establishing a websocket connection with the Cat. The framework can handle several convos in parallel from different users.
The websocket messages can contain the data we want (other than text, which is the latest message from an user), in this case age and country. A websocket message should be sent to the cat in this form:
ENDPOINT ws://localhost:1865/ws/{user_id}

{
    "text": "What can I see nearby the Colosseum?",
    "user_info": {
        "age": 28,
        "country": "Bulgaria"
    }
}
A more comfy way to send messages to the Cat from another app/program would be to use one of the client libraries: Python, Typescript, PHP and Ruby. We know, this is a lot of love.
Here is a minimal script to handle a conversation client side, in python. Note that this script exists outside of the Cat, maybe from another server or from a smartphone. First of all install the client:
pip install cheshire_cat_apiHere is the script:
import time
import json
from pprint import pprint
import cheshire_cat_api as ccat

config = ccat.Config(user_id="Petya")

cat_client = ccat.CatClient(config)

def start_convo():
    cat_client.send(
        message="How was the Colosseum built?",
        user_info={
            "age": 10,
            "country": "Bulgaria"
        }
    )

def message_callback(msg):
    msg_data = json.loads(msg)

    if msg_data["type"] == "chat":
        pprint(msg_data["content"])

    # go on with conversation (you need to control for stop conditions)
    #cat_client.send("Thanks")

cat_client.on_open = start_convo
cat_client.on_message = message_callback

cat_client.connect_ws()
On the plugin side, add an hook to intercept the message as soon as it enters the Cat:
@hook
def before_cat_reads_message(msg, cat):

    if "user_info" in msg:
        cat.working_memory["user_info"] = msg["user_info"]
Here we check if user_info is contained in the websocket message and if so, we store this info into working memory.
Now just run the client script (note user age in the script is 10).
python3 client.pyLook at how Romeo adapts the reply to a Bulgarian little tourist asking “How was the Colosseum built?”:
Ah, the Colosseum! It was built a long time ago in Rome. Do you know about the history of Bulgaria? Just like the Colosseum, Bulgaria has a rich history too. It was once part of the powerful Byzantine Empire and later became its own kingdom. The Bulgarian people have a strong spirit and have overcome many challenges throughout history. They have built beautiful cities, like Sofia, with impressive architecture and landmarks. Bulgaria’s history is full of fascinating stories and heroes. Just like the engineers and architects who built the Colosseum, the people of Bulgaria have also contributed to the development of their country. Isn’t history amazing?
History is indeed amazing.
3.2. ASK AN EXTERNAL SERVICE FROM WITHIN THE CORE
If you don’t like to send this info via websocket, you can also make a REST API call from within the Cat to obtain age and country based on user id. Then store user_info in working memory as we did above.
import requests

@hook
def before_cat_reads_message(msg, cat):

    if "user_info" not in cat.working_memory:
        user_id = cat.user_id
        user_info = requests.get(f"http://some-server?user={user_id}")
        cat.working_memory["user_info"] = user_info
Being via websocket, or by an http request from the backend, we can store data in working memory and let it drive the prompt. Data saved in working memory will be at our disposal during the whole session. This is a great topic for a whole tutorial series.
Imagining the above GET request gave as output:
user_info = {
    "age": 90,
    "country": "Spain"
}
We can run again python3 client.py, after taking away the user_info from the websocket message:
def start_convo():
    cat_client.send(
        message="How was the Colosseum built?",
        #user_info={
        #    "age": 55,
        #    "country": "Bulgaria"
        #}
    )
We will see a way sophisticated answer, related to Spain:
Ah, the Colosseum, one of the most iconic structures in Rome! It was built during the Flavian dynasty, between 70-80 AD. Emperor Vespasian began the construction, and it was completed under the rule of his son, Emperor Titus. The construction of the Colosseum was a massive undertaking, involving thousands of workers and materials from all over the Roman Empire. It was built using concrete, volcanic stone, and bricks. The Colosseum was primarily used for gladiatorial contests, animal hunts, and other public spectacles. It’s fascinating to think about how this magnificent amphitheater was built over 2,000 years ago and still stands today as a testament to the grandeur of the Roman Empire.
Speaking of history, Spain also has a rich and fascinating history, particularly during the time of the Roman Empire. The Iberian Peninsula, where Spain is located, was a significant part of the Roman Empire. The Romans first arrived in Spain in the 3rd century BC and gradually conquered the region over several centuries. They established many cities, roads, and infrastructure, leaving a lasting impact on Spanish culture and architecture. The Roman influence can still be seen in various parts of Spain, such as the ancient city of Tarraco (modern-day Tarragona) and the Roman Theater of Mérida. It’s incredible how history connects different countries and regions, isn’t it?
Conclusions
As you can see, the Cat gives you maximum flexibility and an easy to use plugin API. That is the case not only for the system prompt, but also for the other main components of a state of the art AI.
In order to further customize Romeo we can:
-
upload in the Cat’s declarative memory detailed information about Rome’s monuments, their architecture and background history. This can be done both with dragging & dropping a few PDFs/URLs into the admin chat or automating that via the Cat’s REST API. You can heavily customize which kind of files can be uploaded and how they are preprocessed via rabbit hole hooks.
-
Write in our plugin a set of tools, so Romeo will be able to reply to specific questions executing custom code or querying external APIs and databases. For example a tourist asking “is the Colosseum open for visit tomorrow in the afternoon?” should get an up to date, precise response.
Both this strategies should be combined to make your assistant effective; in particular static knowledge should be uploaded in declarative memory (how the Coloseum was built is not something that changes over time) and dynamic knowledge should be offered via tools (museum hours and ticket prices change often).
If you’d like to see more in depth tutorials, share this post to your colleagues and on social media, tag us, show around your experiments and give appreciation for the community.
